
Installing the HP LaserJet P1102 printer is a simple process if you follow the right steps. In this guide on How to install HP LaserJet P1102, you’ll learn how to set up the printer on your computer quickly and efficiently.
Whether you are using Windows or another operating system, proper driver installation and connection are essential for smooth printing.
This tutorial is designed for beginners and will help you avoid common setup errors. By following this guide, you can ensure your HP LaserJet P1102 printer works perfectly from the very beginning without any technical hassle.
Pre-Installation Checklist for HP LaserJet P1102
Before we dive into the software, let’s make sure the hardware is ready to cooperate.
- Remove the Orange Tape: Check the toner cartridge area and the paper trays for any protective plastic or orange shipping pull-tabs.
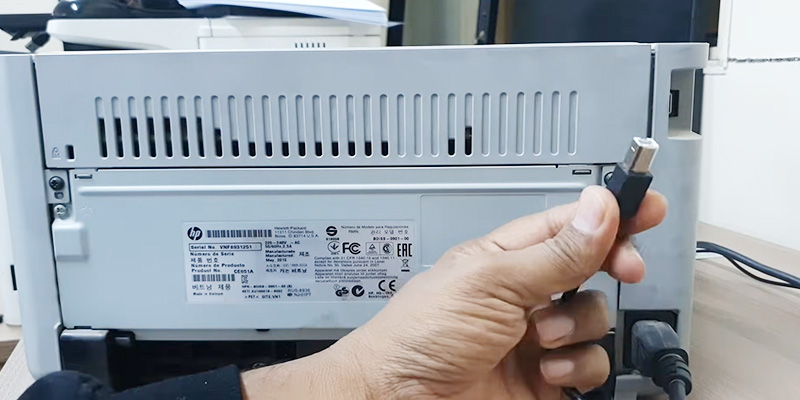
- Check the Cable: You’ll need a standard USB 2.0 A-to-B cable. (Note: This printer doesn’t usually come with one in the box!)
- Power Up: Plug the printer directly into a wall outlet rather than a surge protector for the most stable connection.
Method 1: The “Plug and Play” (HP Smart Install)
The P1102 features HP Smart Install, which means the drivers are actually stored inside the printer itself.
- Keep the printer off to start.
- Connect the USB cable to your PC and the printer.
- Turn the printer on.
- On your computer, a window should pop up asking to run “HP Smart Install.” 5. Follow the on-screen prompts, and you’re done!
Pro Tip: If the window doesn’t pop up, open File Explorer, go to “This PC,” and look for a drive that looks like a CD labeled “HP Smart Install.” Double-click it to start the setup.
Method 2: Manual Driver Download (Recommended)
If Smart Install doesn’t trigger, or if you’re using a newer version of Windows (like Windows 11) or macOS, downloading the latest drivers from HP is the most reliable route.
For Windows Users:
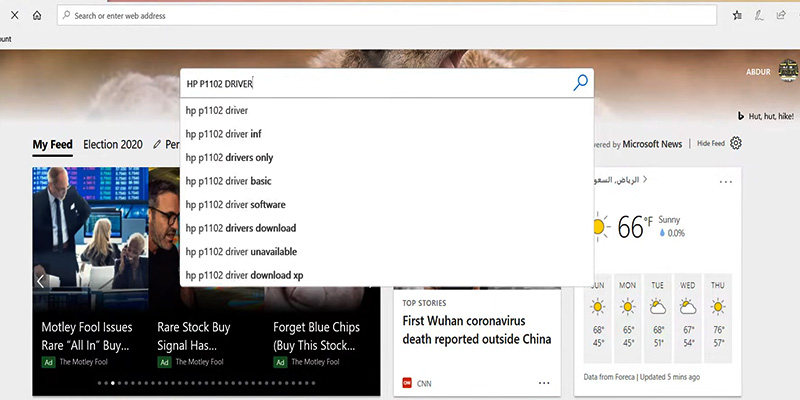
- Go to the HP Support Website.
- Type LaserJet P1102 in the search bar.
- Download the Full Feature Software and Driver package.
- Run the
.exefile. Important: Do not plug in the USB cable until the installer specifically asks you to. - Select “Typical Installation” and follow the prompts.
For Mac Users:
Most modern Macs will recognize the P1102 automatically via AirPrint or through Software Update.
- Connect the printer via USB.
- Go to System Settings > Printers & Scanners.
- Click Add Printer, Scanner, or Fax…
- Select the P1102 from the list. If it asks for a driver, select “Auto Select” or “Generic PostScript.”
Troubleshooting Common Issues
| Issue | Solution |
| Printer Not Found | Try a different USB port (avoid USB hubs) or a different cable. |
| Blinking Amber Light | This usually indicates a paper jam or that the toner cartridge is missing/improperly seated. |
| Prints Blank Pages | Ensure you have pulled the plastic sealing tape out of the side of the toner cartridge. |
Final Step: The Test Print
Once the installation says “Successful,” it’s time for the moment of truth. Go to your Devices and Printers settings, right-click your new HP P1102, and select Printer Properties > Print Test Page.
If you hear that familiar mechanical whir and a crisp page slides out, congratulations! You are officially back in business!